Buffalo Chicken Cutlets with Creamy Celery Tomato Slaw
These crispy Buffalo chicken cutlets are topped with a creamy celery tomato slaw for a fresh twist on classic Buffalo wing flavors. Perfect for an easy weeknight dinner that's packed with crunch, heat, and flavor.
Ingredients
For the Chicken Cutlets
- 1 pound chicken cutlets
- 2 eggs beaten
- 1 cup seasoned breadcrumbs or panko breadcrumbs
- 1 teaspoon garlic powder
- 1 teaspoon paprika
- 1 teaspoon kosher salt
- ½ teaspoon black pepper
- Oil for frying
For the Buffalo Sauce
- ½ cup Buffalo sauce
- 2 tablespoons melted butter
For the Creamy Celery Tomato Slaw
- 3 celery stalks finely diced
- 1 cup cherry tomatoes diced (save the tomato juices)
- ⅓ cup mayonnaise
- 1 tablespoon lemon juice
- ½ teaspoon garlic powder
- Salt and pepper to taste
Instructions
Step 1: Prepare the Chicken
- Pat the chicken cutlets dry with paper towels and season with salt and pepper.
- Set up a breading station with beaten eggs in a bowl, and breadcrumbs mixed with garlic powder, paprika, salt, and pepper in another bowl.
- Dredge each chicken cutlet in the egg and then seasoned breadcrumbs, pressing gently so the coating adheres.
Step 2: Fry Until Crispy
- Heat about ¼ inch of oil in a large skillet over medium heat.
- Once hot, carefully add the chicken cutlets and cook for 3 to 4 minutes per side, or until golden brown and cooked through.
- Transfer to a wire rack or paper towel-lined plate.
Step 3: Make the Buffalo Sauce
- In a small bowl, whisk together the Buffalo sauce and melted butter.
- Brush or toss the hot chicken cutlets in the Buffalo sauce until evenly coated.
Step 4: Prepare the Creamy Celery Tomato Slaw
- While the chicken cooks, dice your celery and tomatoes. Add tomatoes to a separate bowl then add celery (and any other veggie you want) to a large mixing bowl.
- Mix the mayonnaise, lemon juice, garlic powder, salt, and pepper then add in the tomato juices and combine.
- Mix until everything is evenly coated.
- Taste and adjust seasoning as needed.
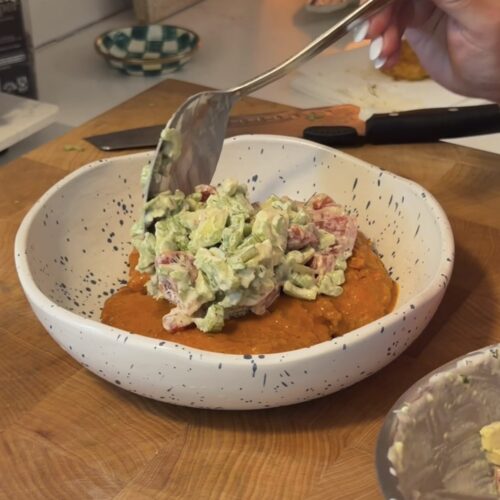
Step 5: Assemble and Serve
- Transfer the Buffalo chicken cutlets to a serving platter or individual plates.
- Top each cutlet with a generous spoonful of the creamy celery tomato slaw and serve immediately.